How to Get a Clean Product Shot - Thrifty Edition
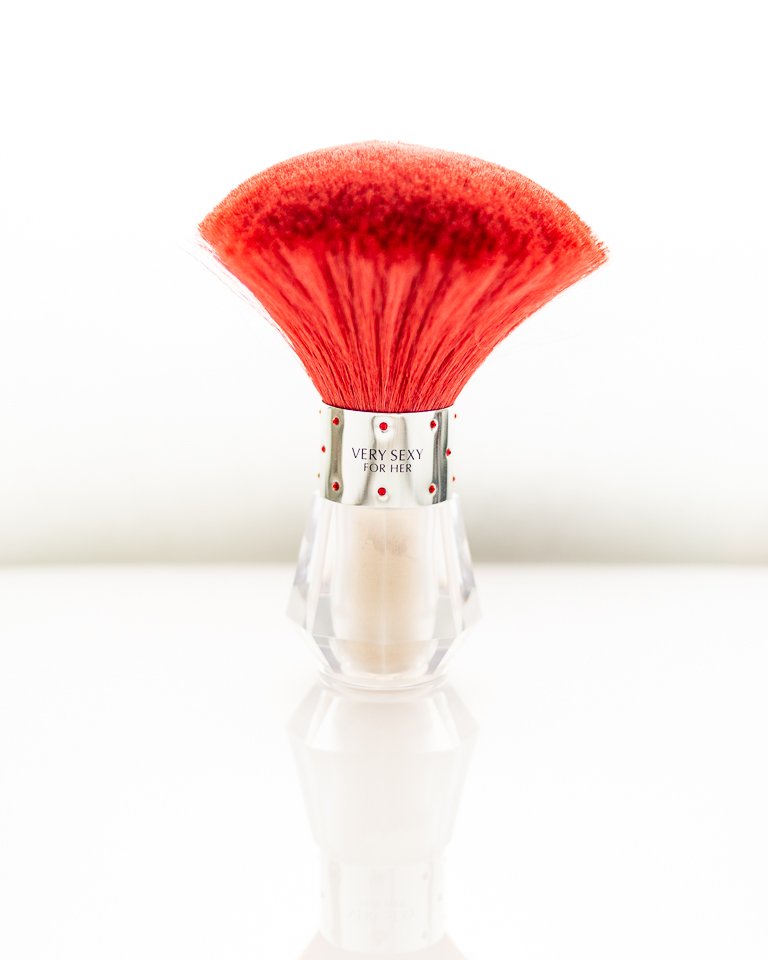
Here comes another test shoot born from a THAT PHOTO SCHOOL assignment. Justin released a tutorial earlier this month showing us how he learned to shoot product when he was still assisting Andy Klein a decade or two ago. I took what I learned there and adapted the technique to what tools and materials I already had at home. This was my final shot, does anyone remember body glitter? Lol.
Alright, here we go!
Step 1!
I found a random box in the garage, probably from Costco, deconstructed it and painted the inside white. The idea is to surround the product with white walls which will help bounce light and create a soft glow.

Step 2!
Use the fourth side of the box to make a “shoot-through”. I have no idea what the official name for this thing is, but just cut a hole in a piece of cardboard or foam core board so you can hang it off your camera lens. This allows you to bounce light from the front without obstructing your view. I first discovered these assisting Kelsey Foster, a Dallas food photographer that tries to emulate natural light in her work.

Step 3!
Now we can start building our set.
I had everything on my sofa table. I started with an old mat board for a white surface and placed a piece of clear plastic on top of that. I took it from a shitty old Walmart frame, it’s not even glass. Finally, I placed my cardboard box on top of all that, white sides facing inward.

Step 4!
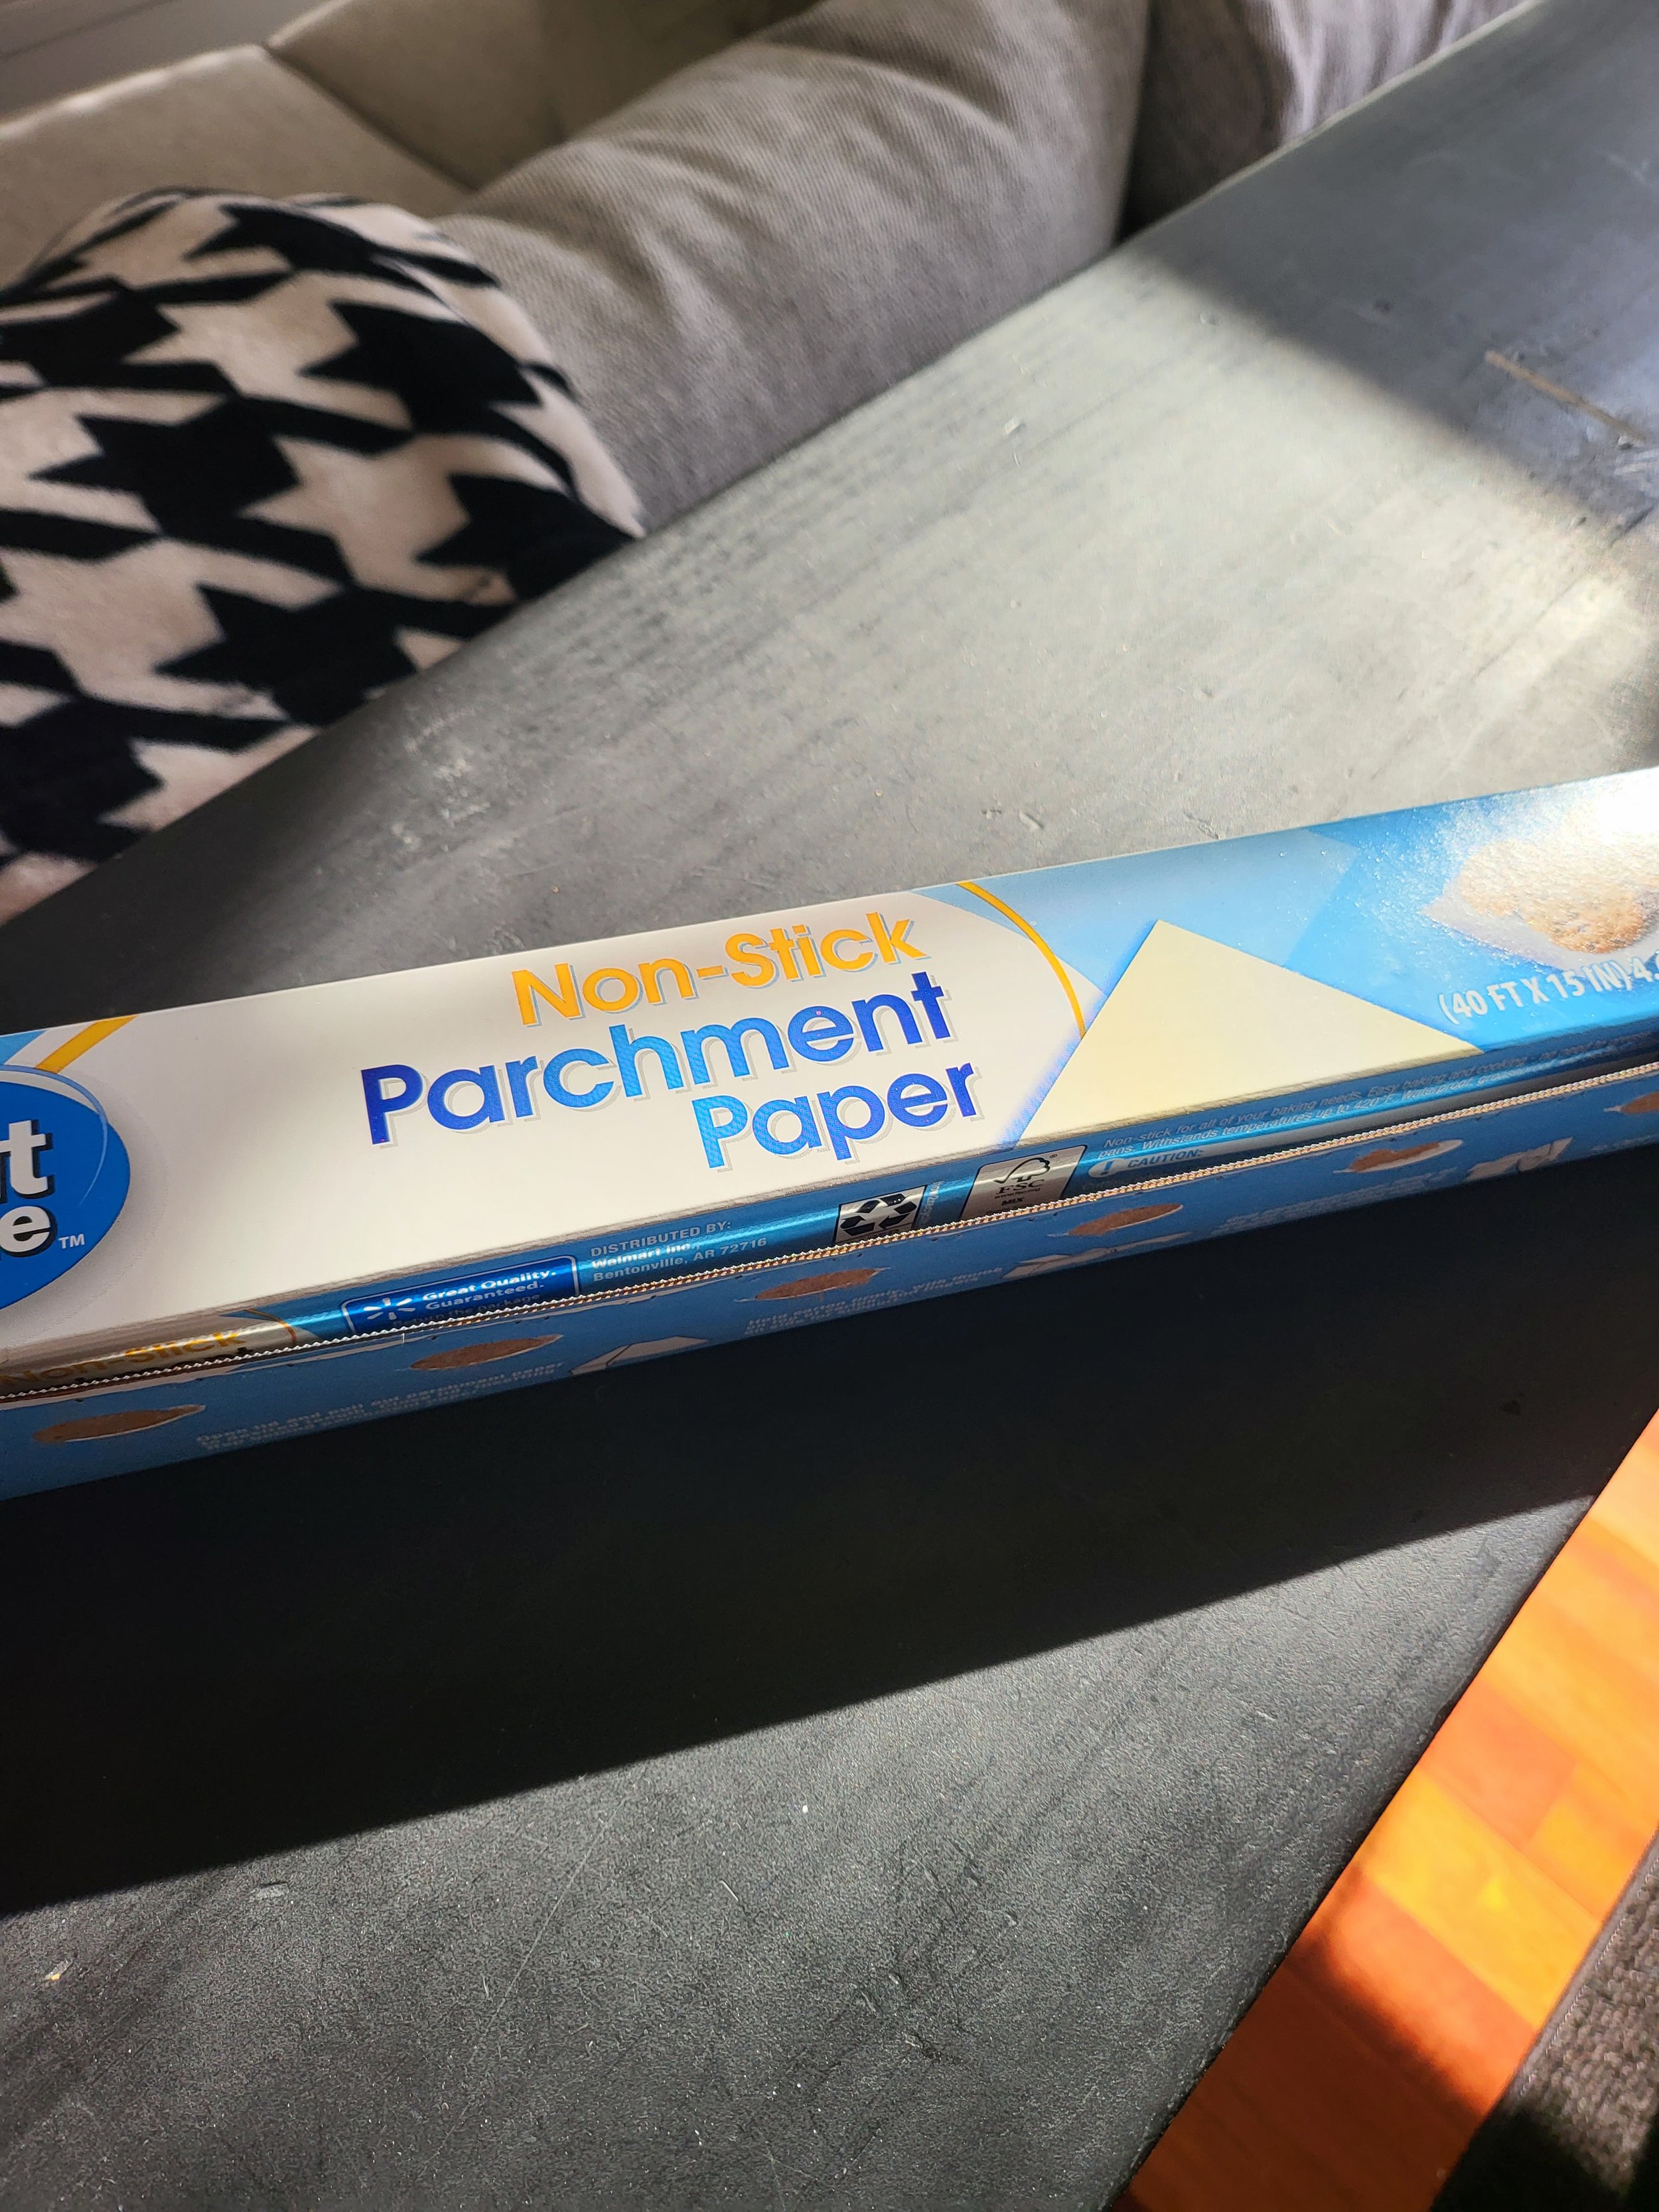
Set up your diffusion. Justin used a roll of vellum, but that was a little expensive for me, and I didn’t want to wait for it to ship, so I used parchment paper which you can find at any grocery store in the baking aisle!

You now have a white box that will bounce and diffuse light all around your product!
Step 5!
I then placed a bare bulb right behind the parchment paper to backlight the item. I used my strobe because I already have one, but if you don’t, just use a lamp or something. You may have to boost your ISO, but it should work similarly!

Thrifty Tippy!
When you’re shooting on a seamless background, you normally use an A-clamp to keep the roll from continuously unraveling. With a small parchment paper roll, I used a binder clip instead.

And voila! That’s it. You can now stick makeup, skin care, a bottle of liquor, whatever small item you can think of in your light box and photograph it! And if you have awesome photoshopping skills, you can take your photos to another level by cleaning things up, adding beautiful gradients, etc… But understanding lighting will get you more than half way there. Okay, have fun!
